特别强调
如果您按照本教程操作,请勿随意修改任何内容,包括 备注 等配置中的任何部分。您只需根据实际情况修改对应的 IP 地址 即可。
以下以 Shadowsocks 为例,每个端口对应不同的IP出口,其他协议或多用户区分可根据此思路扩展。
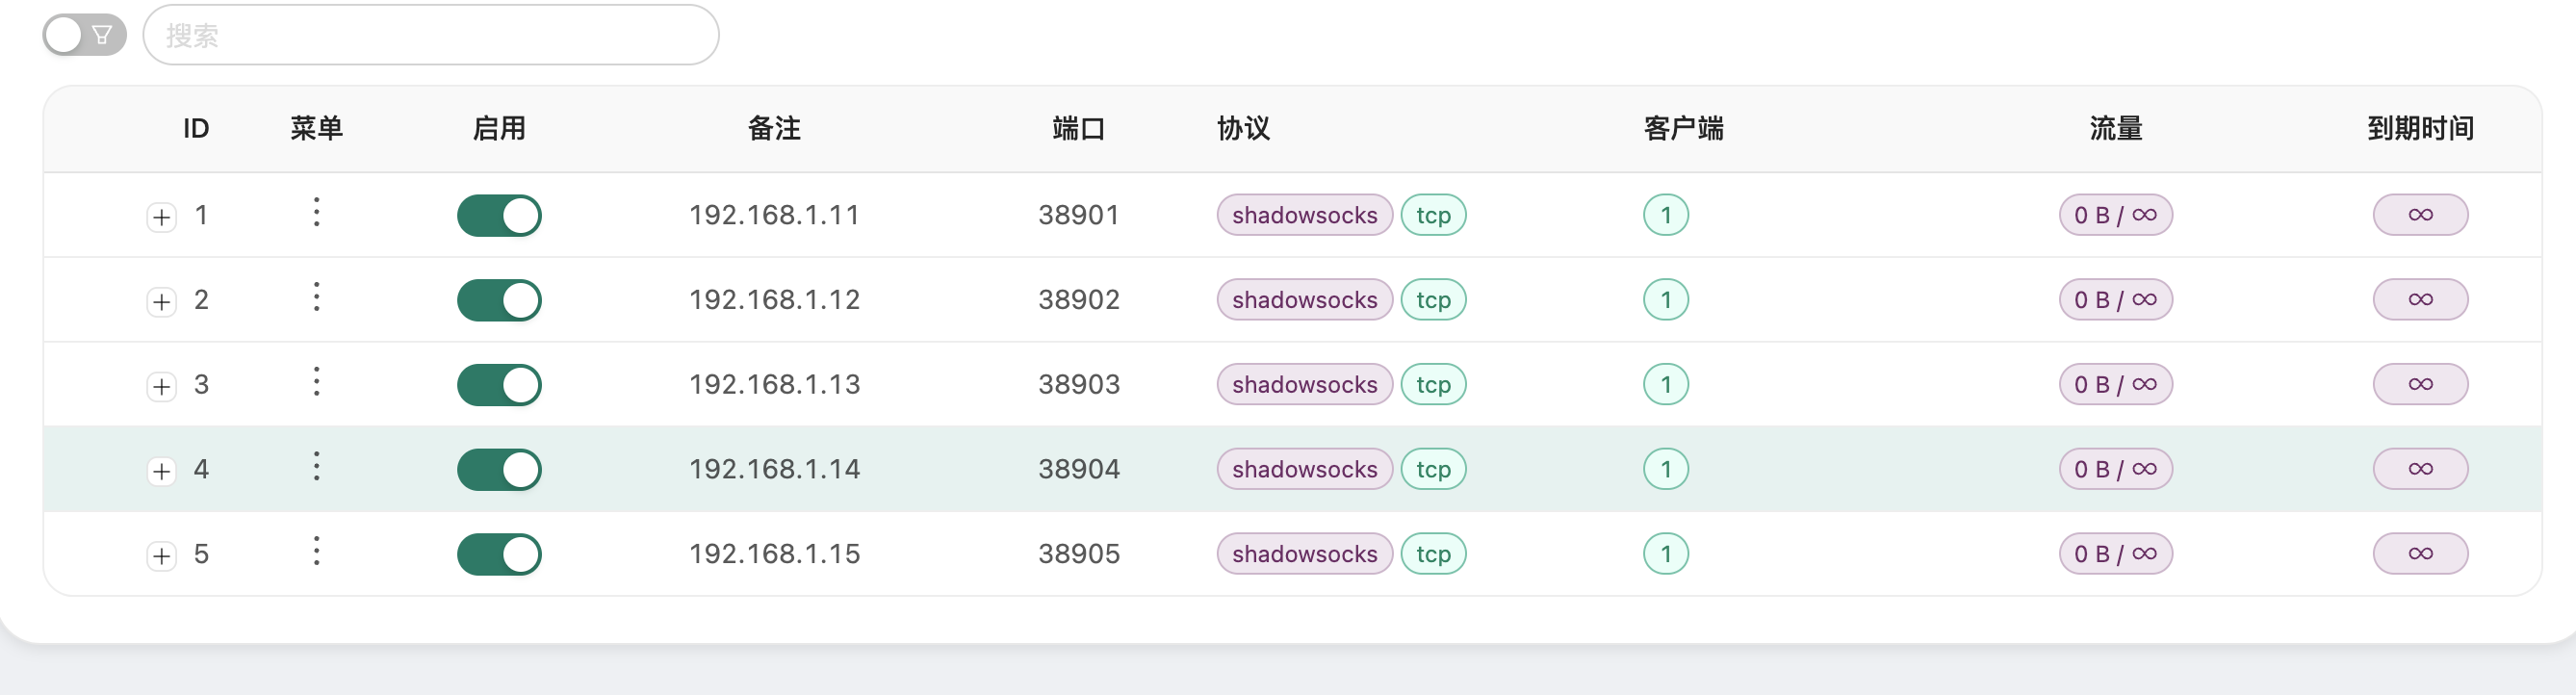
示例:端口与IP对应关系
38901 -> 192.168.1.11
38902 -> 192.168.1.12
38903 -> 192.168.1.13
38904 -> 192.168.1.14
38905 -> 192.168.1.15
安装 3x-ui
-
请参考以下教程安装 3x-ui:
3x-ui 安装教程 -
安装完成后,登录管理面板,按照以下步骤进行配置。
配置步骤
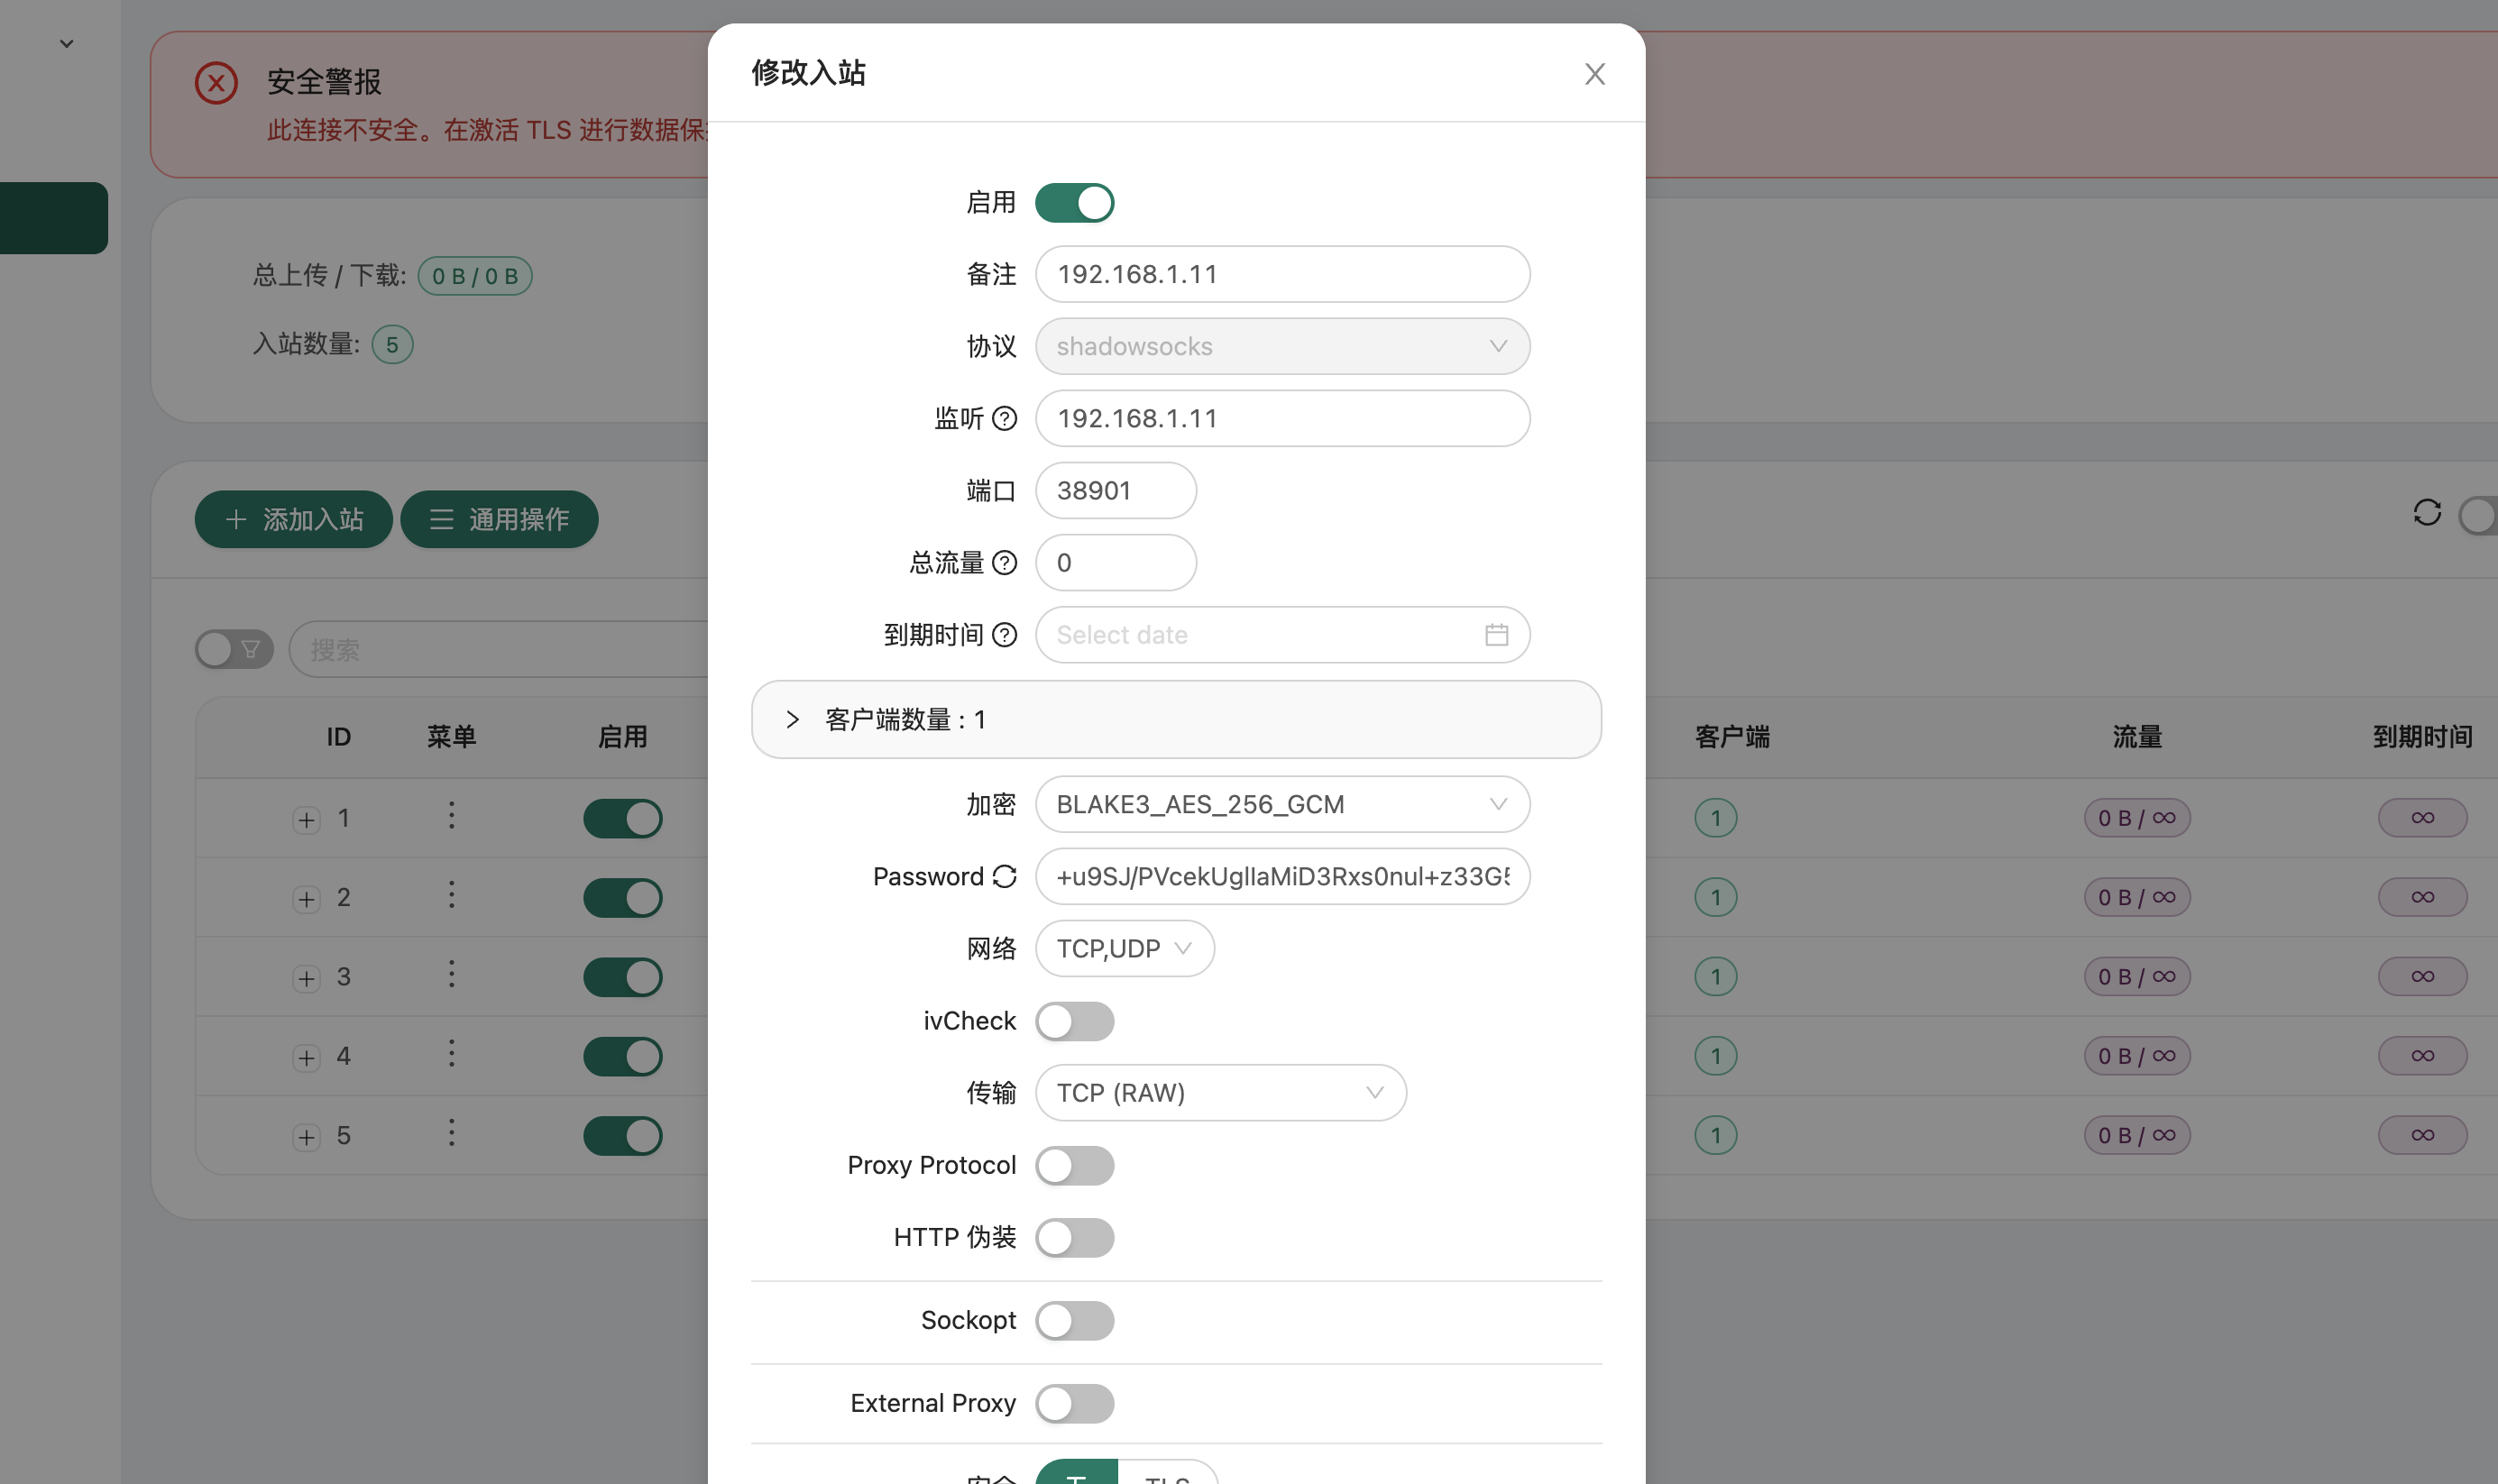
1. 创建节点
在 3x-ui 中为每个IP创建对应的节点。节点的IP需与实际出口IP对应,确保配置准确。如不清楚如何操作,请谨慎修改,以免配置失败。
整体配置图
2. 配置 Xray 高级设置
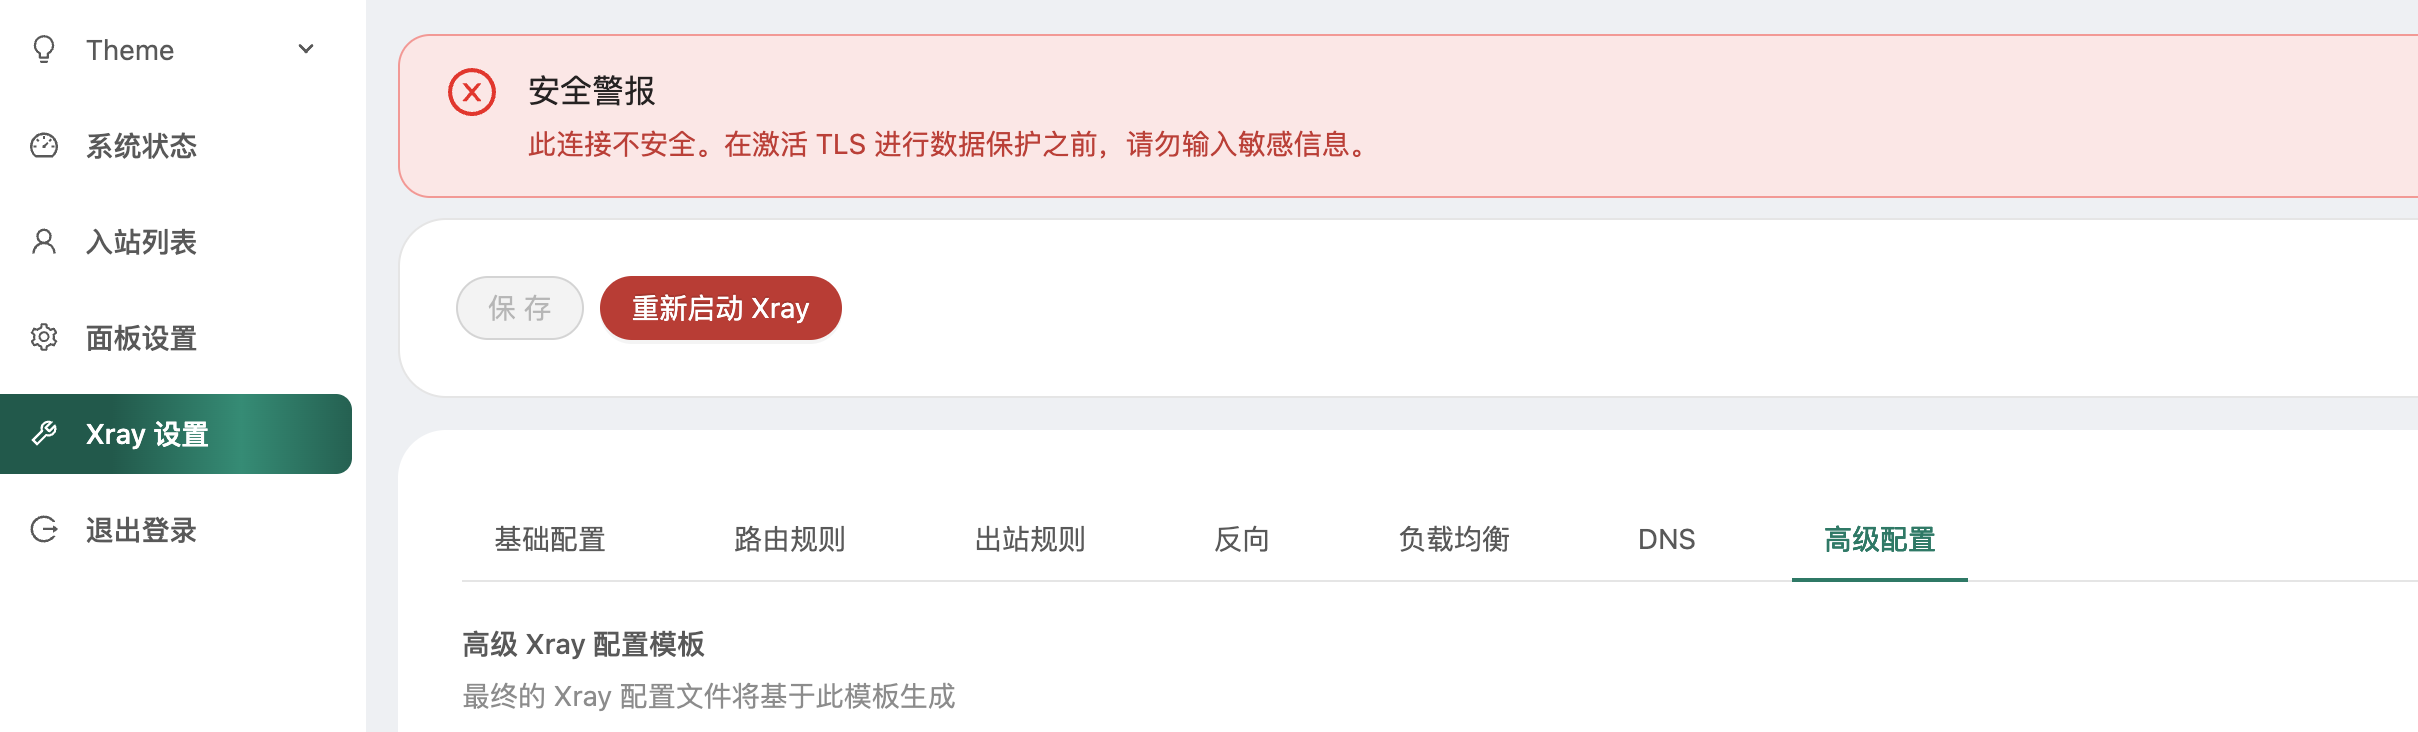 进入 Xray 设置 → 高级设置,找到并编辑以下内容:
出站规则配置
[
{
"tag": "ip1",
"sendThrough": "192.168.1.11",
"protocol": "freedom",
"settings": {}
},
{
"tag": "ip2",
"sendThrough": "192.168.1.12",
"protocol": "freedom",
"settings": {}
},
{
"tag": "ip3",
"sendThrough": "192.168.1.13",
"protocol": "freedom",
"settings": {}
},
{
"tag": "ip4",
"sendThrough": "192.168.1.14",
"protocol": "freedom",
"settings": {}
},
{
"tag": "ip5",
"sendThrough": "192.168.1.15",
"protocol": "freedom",
"settings": {}
},
{
"tag": "direct",
"protocol": "freedom",
"settings": {
"domainStrategy": "UseIP",
"redirect": "",
"noises": []
}
},
{
"tag": "blocked",
"protocol": "blackhole",
"settings": {}
}
]
路由规则配置
[
{
"inboundTag": [
"inbound-192.168.1.11:38901"
],
"outboundTag": "ip1",
"type": "field"
},
{
"inboundTag": [
"inbound-192.168.1.12:38902"
],
"outboundTag": "ip2",
"type": "field"
},
{
"inboundTag": [
"inbound-192.168.1.13:38903"
],
"outboundTag": "ip3",
"type": "field"
},
{
"inboundTag": [
"inbound-192.168.1.14:38904"
],
"outboundTag": "ip4",
"type": "field"
},
{
"inboundTag": [
"inbound-192.168.1.15:38905"
],
"outboundTag": "ip5",
"type": "field"
},
{
"type": "field",
"inboundTag": [
"api"
],
"outboundTag": "api"
},
{
"type": "field",
"outboundTag": "blocked",
"ip": [
"geoip:private"
]
},
{
"type": "field",
"outboundTag": "blocked",
"protocol": [
"bittorrent"
]
}
]
保存所有配置后,重启 Xray 服务。配置完成后,可以进行测试以验证是否符合预期
重要提醒
- 备注中包含IP的部分:请确保将其替换为您的实际IP地址,而不改变其他内容。
- 严格按照教程步骤操作:任何额外的修改可能导致配置失败或功能异常。
- 如有疑问,请勿轻易尝试:在不确定的情况下,建议先备份配置或寻求专业帮助。
务必遵循以上说明,确保配置过程顺利完成,此方法百分之百可用。